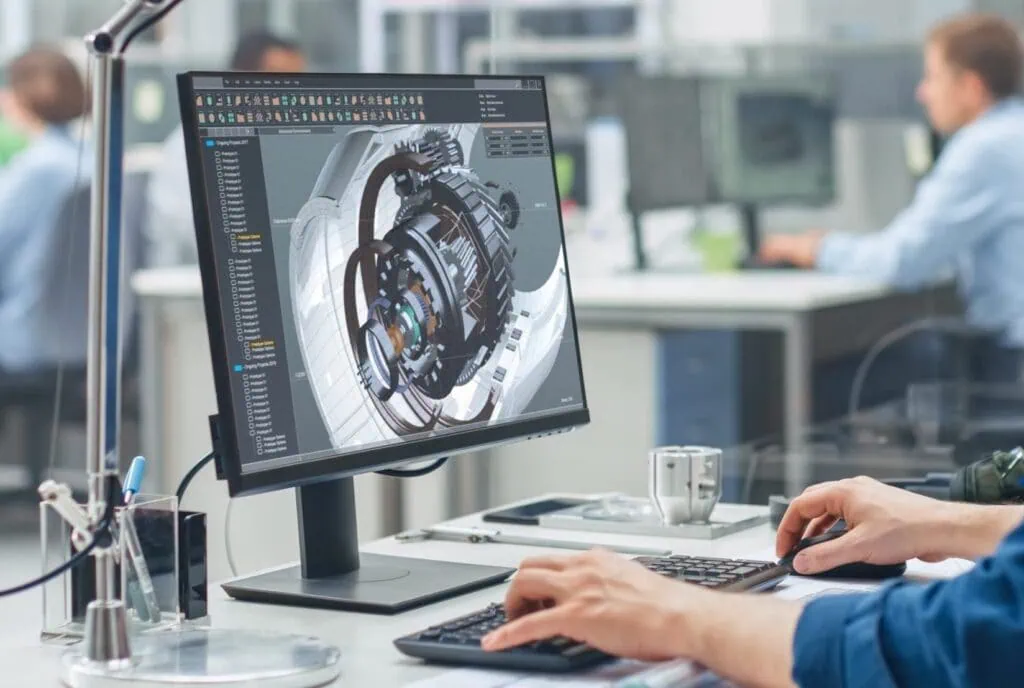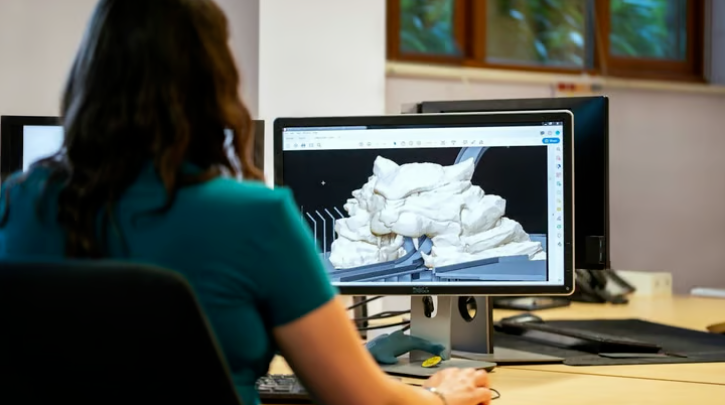


For newcomers to 3D printing, various small issues often arise when using 3D printers, leading to failed model prints or poor results. The main reason is unfamiliarity with the equipment. To help everyone avoid detours and improve printing success rates, Debaolong Seiko has summarized 10 key 3D modeling tips.
1. The 45-Degree Rule
Remember the 45-degree rule: any overhang exceeding 45 degrees requires additional support materials or advanced modeling techniques. Design your own supports or connecting structures (such as cones or other support elements) directly into the model.
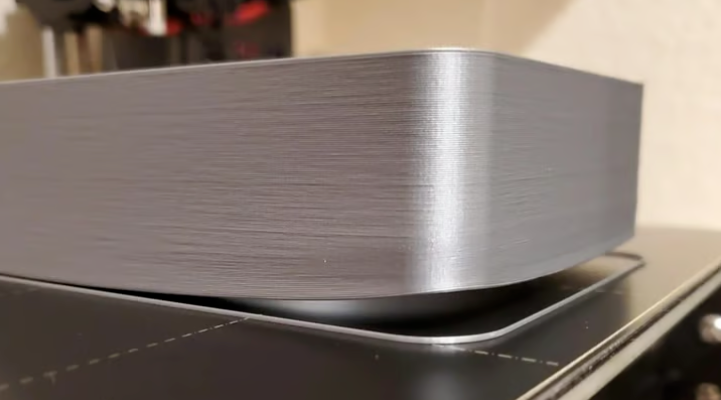
2. Minimize Support Material Use
While support algorithms have improved over time, removing support material often leaves unsightly marks on the model and can be time-consuming. Aim to design models that can be printed directly without support material whenever possible.
3. Design Custom Print Bases
Avoid using built-in print bases, as they slow down printing speed. Depending on the software or printer settings, pre-built bases may also be difficult to remove and could damage the model’s bottom.
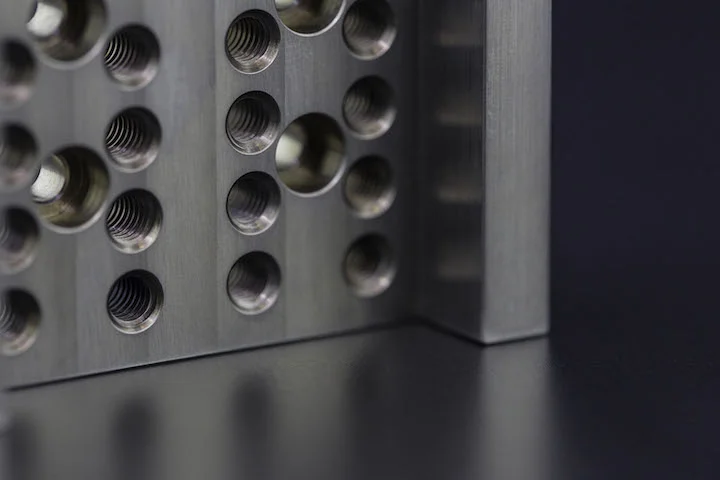
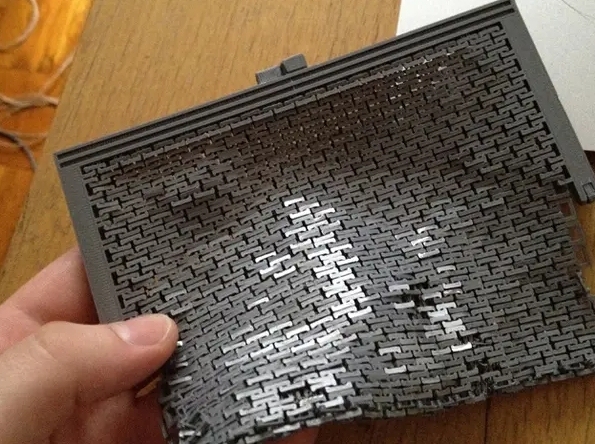
4. Understand Your Printer’s Limits
Know your model’s details—are there tiny protrusions or parts too small for a desktop 3D printer? A critical but often overlooked factor is line width (determined by the nozzle diameter). Most printers use 0.4mm or 0.5mm nozzles.
- Example: A 0.4mm nozzle can print a circle with a minimum diameter of 0.8mm; a 0.5mm nozzle’s minimum is 1mm.
5. Add Tolerances
Not all model parts need to fit perfectly. As a general rule:
- Leave 0.2mm clearance for tight fits.
- Leave 0.4mm clearance for looser fits.
Adjust these values based on your printer’s performance.
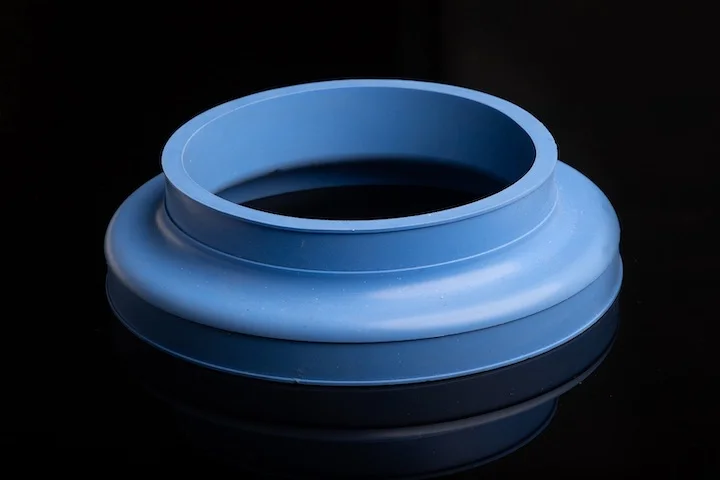
6. Use Shells Sparingly
Avoid excessive shell layers for precision models (e.g., those with tiny text). Extra shells can blur fine details.
7. Leverage Line Width
Use line width to your advantage. For bendable or thin models, design the thickness to match one line width.
8. Optimize Print Orientation for Precision
Print the model in the orientation that achieves the best possible resolution. If needed, split the model into parts, print them separately, and assemble later. This ensures maximum precision, even if it takes more time.
9. Adjust Orientation for Stress Resistance
When designing for load-bearing parts, ensure the print orientation minimizes stress concentration:
- Align print lines perpendicular to the direction of applied force.
- For large ABS models, this also reduces the risk of Z-axis cracking due to cooling on the print bed.
10. The Ultimate Goal: Strategic Model Placement
For FDM (Fused Deposition Modeling) printers, the “ultimate goal” is to print complex, multi-component models by:
- Positioning objects strategically on the print bed.
- Connecting adjacent parts and printing carefully in the gaps.
These tips help streamline the 3D printing process and maximize success for beginners. Always test small prototypes first and refine based on your printer’s unique characteristics!