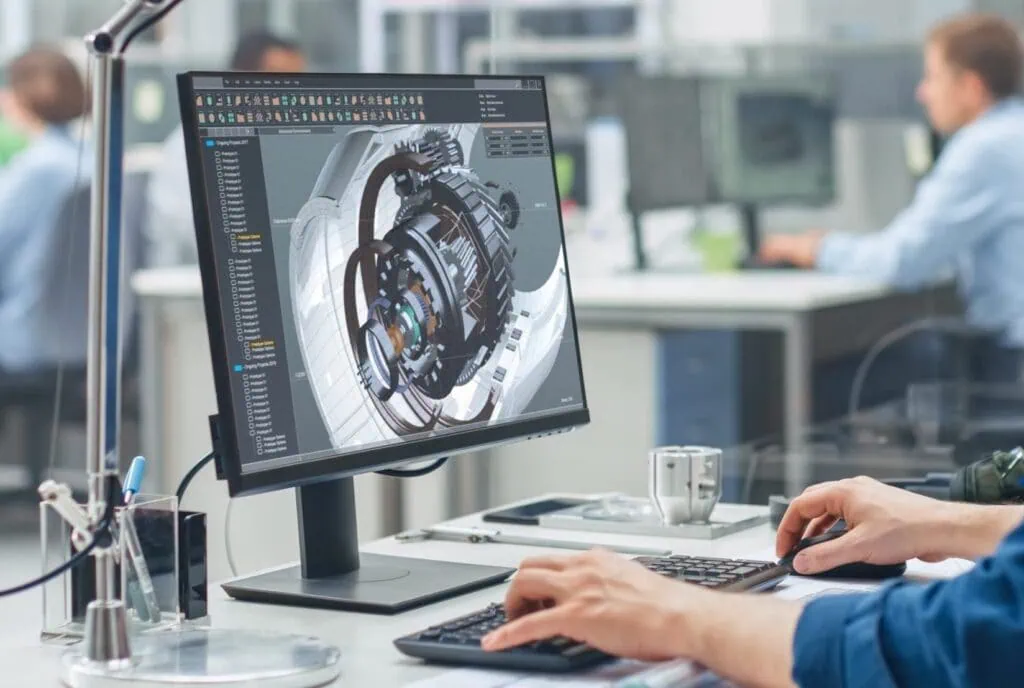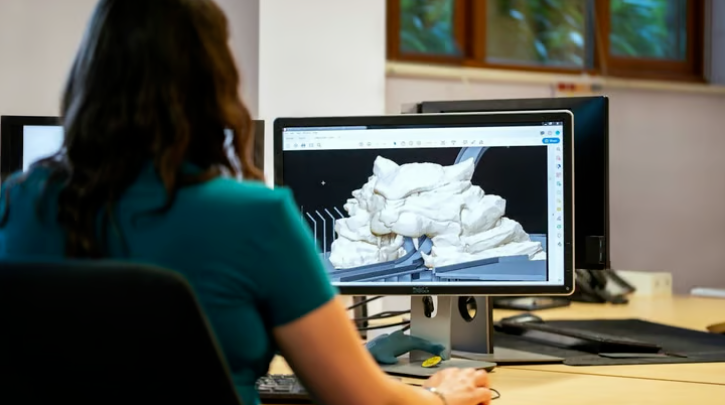


When using FDM 3D printers, several common issues often arise. Below, Debaolong Seiko outlines 7 frequent printing problems and their solutions:
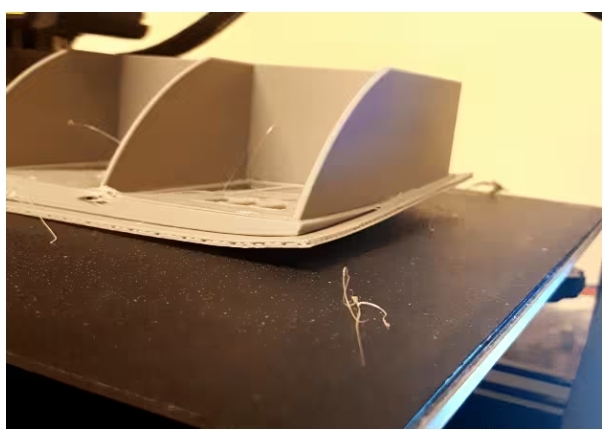
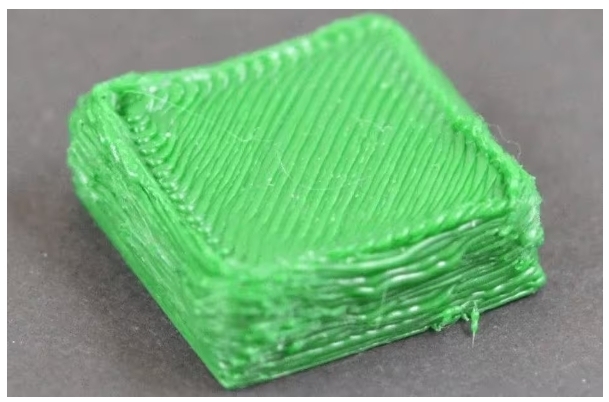
1. Warping
Warping occurs when the printed model curls upward or detaches from the build plate due to material shrinkage.
Solutions:
01. Increase bed temperature: Raise it by 10°C for testing (avoid excessive heat to prevent other issues).
02. Reduce air flow: Minimize drafts in the printing environment; use windshields or insulation covers.
03. Level the bed: Proper bed leveling is critical, especially for large models. Even with auto-leveling, manual adjustment is recommended.
04. Apply glue to the bed: A quick fix, but risks difficult removal and bed damage (not recommended as a primary solution).
05. Use Raft or Brim: These increase contact with the bed and mitigate warping from uneven surfaces.
06. Optimize first layer settings: Increase first layer height by 50% and temperature by 5–10°C.
07. Use high-quality filament: Choose filaments with high purity (e.g., 90%+ PLA) to reduce shrinkage from mixed plastics.
2. First Layer Not Sticking
A poorly adhered first layer makes successful printing impossible.
Solutions:
01. Increase bed temperature: Test a 10°C increase, as with warping.
02. Adjust bed leveling and Z-axis distance: Ensure the nozzle is close enough to slightly flatten the filament for adhesion.
03. Maintain the bed: Keep the bed clean. For glass beds, wait for full cooling before removing models to preserve surface texture. Avoid excessive glue use.
04. Use Raft: Helps compensate for poor nozzle-bed distance.
05. Optimize first layer settings: Same as warping solutions (e.g., increased height/temperature).
06. Apply glue to the bed: Use sparingly due to removal challenges.
3. Under-Extrusion
Under-extrusion results in rough, fragile prints with gaps.
Solutions:
01. Increase printing temperature: Raise by 5–10°C or perform a temperature tower test to find the optimal setting.
02. Check extruder and gears: Tighten screws and clean gears regularly to remove debris.
03. Clear the nozzle: Use specialized cleaning filaments to unclog the nozzle.
04. Replace the nozzle: Worn nozzles cause inconsistent extrusion; replace them periodically.
05. Calibrate the extruder (e-steps): Adjust extrusion settings for precise material flow (complex process requiring separate guidance).
06. Adjust retraction settings:
- For Bowden (remote) extruders: 5 mm retraction distance, 45 mm/s speed (Cura).
- For direct extruders: ~1 mm retraction distance, ~35 mm/s speed.
4. Over-Extrusion
Excessive material deposition, often easier to resolve than under-extrusion.
Solutions:
01. Lower printing temperature: Cooler filament reduces sagging from overheating.
02. Calibrate extruder steps: Ensure accurate material flow.
03. Replace the nozzle: Worn nozzles with enlarged diameters cause over-extrusion.
04. Adjust belts and rollers: Over-tightened components can delay nozzle movement, leading to excess material.
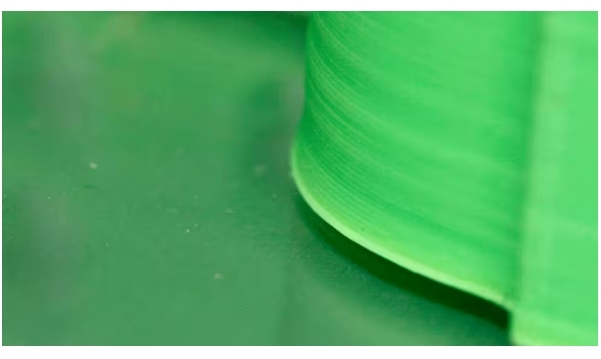
5. Ghosting/Vibrational Lines
“Ripple” defects on the print surface due to printer vibrations from rapid speed/direction changes.
Solutions:
01. Use a stable platform: Place the printer on a solid, non-shaking surface.
02. Reduce print speed: Slower speeds improve stability.
03. Lighten moving parts: For I3-style printers, reduce the weight of the heated bed to minimize inertia.
04. Lower acceleration/jerk settings: Stick to default values to reduce shaking.
05. Tighten rollers and belts: Loose components cause misalignment and ghosting.
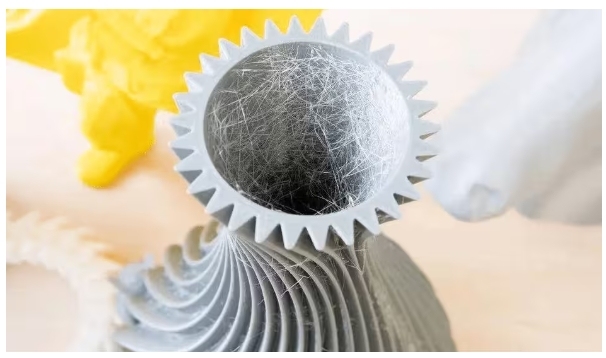
6. Stringing
Thin filament strands between model parts, worsened by humid filament.
Solutions:
01. Enable/increase retraction: Adjust distance and speed (test increments). Increase travel speed during retraction.
02. Lower printing temperature: Use the minimum recommended temperature for the filament or perform a temperature tower test.
03. Dry the filament: Bake at 45–50°C for 4–5 hours in an oven or dehydrator to remove moisture.
04. Clean the nozzle: Clogs or residue can cause stringing; use cleaning filaments.
05. Use pure filament: PLA is less hygroscopic than modified filaments. Pure PLA reduces moisture-related issues.
06. Post-process with a heat gun: Gently remove strings from finished prints.
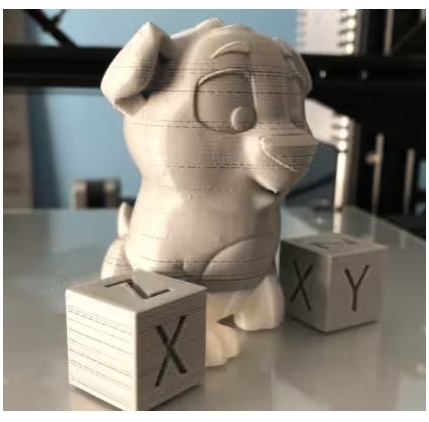
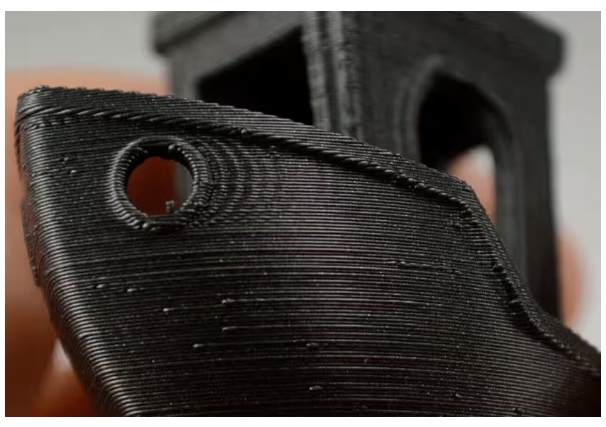
7. Blobs or Zits on Prints
Unexplained bumps or spots, often hard to diagnose.
Solutions:
01. Lower printing temperature: Excessive heat can cause material to ooze under pressure.
02. Optimize retraction: Balance retraction distance/speed to avoid air bubbles from over-retraction.
03. Adjust extruder path and coasting: Use Cura’s “combing” feature to minimize travel over the model. Enable “coasting” (0.2–0.5 mm) in experimental settings to reduce Z-seam blobs.
04. Improve cooling and dry filament: Enhance part cooling and dry wet filament to reduce bubbling and oozing.