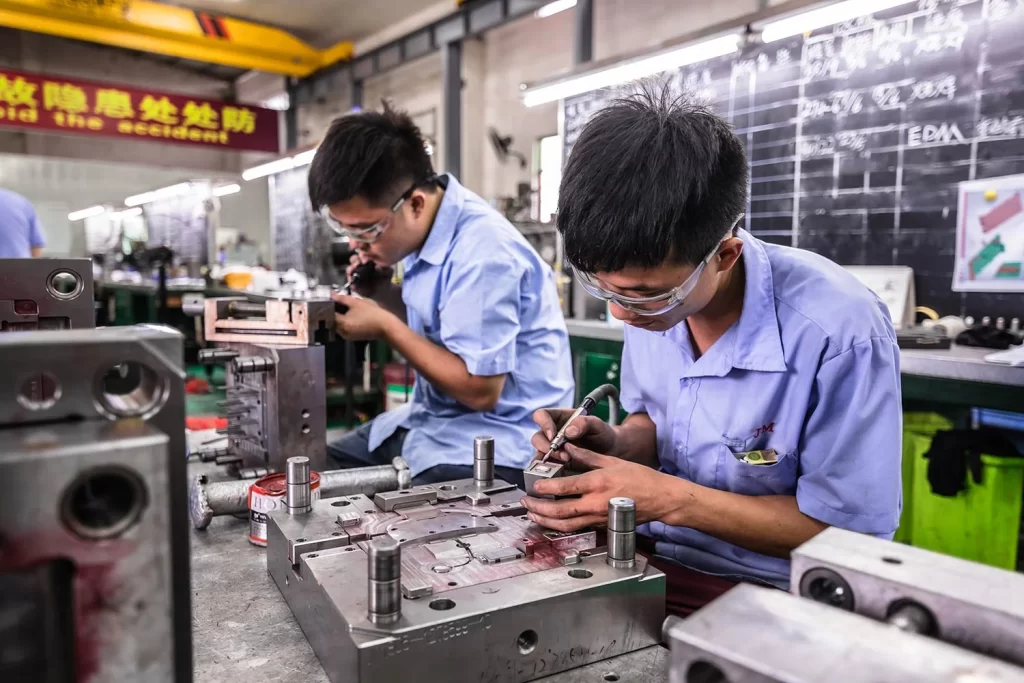


Let’s face it: designing plastic injection molded parts is often a balancing act between speed, cost, and part quality. The good news is that all three can be achieved with relative ease by following some basic rules and asking the right questions. Take flash, for example. Yes, it’s an unavoidable fact of injection molding that small amounts of flash will appear from time to time. Sorry about that. But here’s the thing: some design tweaks can reduce or even eliminate this nuisance, and none are particularly difficult to implement.
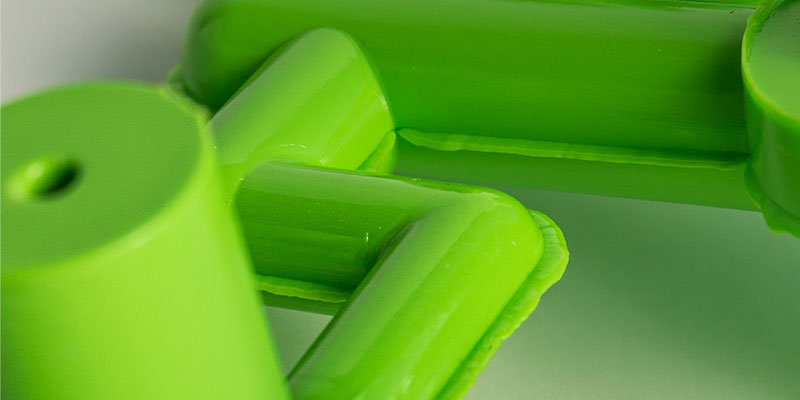
What Is Flash in Injection Molding?
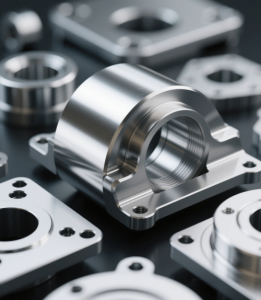
If plastic injection molding were like painting a living room, flash would be the smudges of off-white or Hague blue that seep around the masking tape. This happens because all injection molds contain parting lines, which to some extent allow small amounts of molten plastic to escape the machined boundaries of the mold cavity. The same goes for gates, vents, sliding cams, pick-out inserts, and any other place where metal meets metal—all of these can be responsible for creating random-shaped excess material called flash, which must be removed from the finished part.
Easily Removing Flash with “Moats”
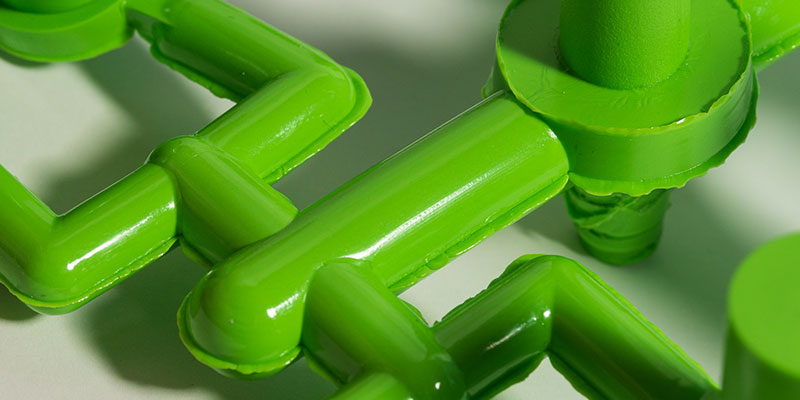
Parts made from more viscous polymers like high-density polyethylene (HDPE) tend to have fewer flash issues due to their simpler shapes and ease of molding. On the other hand, there’s liquid silicone rubber (LSR), which has extremely low viscosity and flows almost like water. Here, flash is inevitable regardless of part geometry, which is why we often design molds with “tear strips,” similar to moats around a castle. As the name suggests, these tiny rivers of material run around the perimeter of the part and can be easily torn off after molding.
Finishing and Flash
For other materials, relocating the parting line is sometimes the best strategy to reduce flash, especially when it’s in a decorative area or where the two halves of the mold meet at a side action or pick-out location. Speaking of cosmetics, note that polishing a mold to improve a part’s surface finish tends to wear down the nice, sharp edges created during mold machining, thereby increasing the chance of flash. The same goes for sandblasting or texturing a mold, which can give machined parting lines a slight radius. We’re not saying that polishing and texturing molds should be avoided, but setting expectations is important so you can plan accordingly.
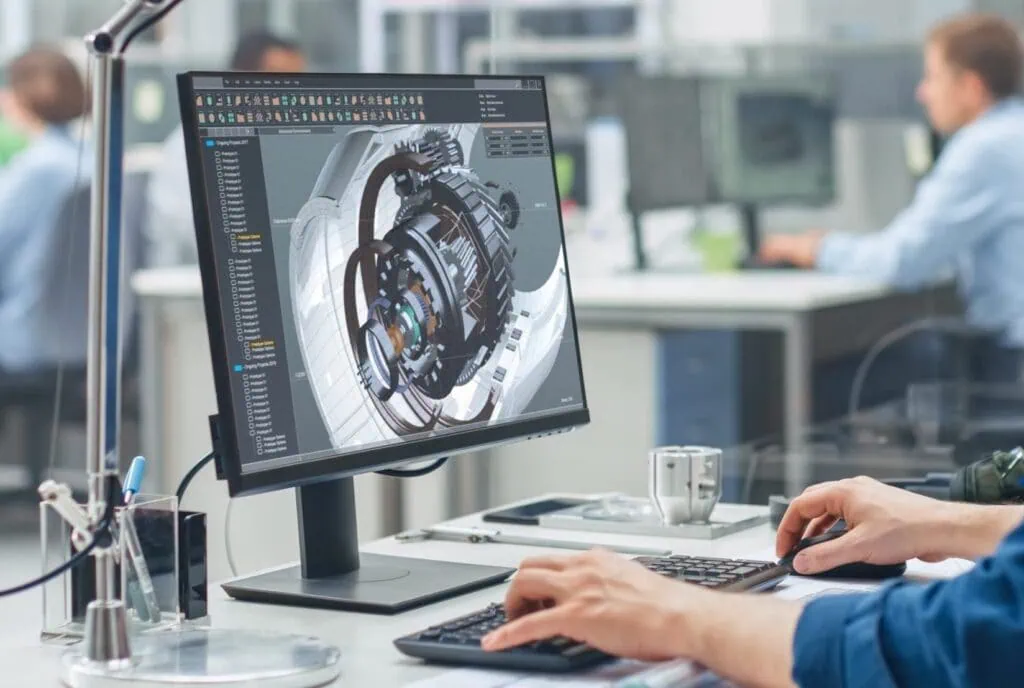
Taking Steps to Avoid Flash in Injection Molding Design
Other flash considerations include the need to increase the shutoff engagement of sliding mechanisms. Depending on the material, part geometry, and shutoff direction, a draft angle of a few degrees is a good starting point, though more may be needed. Very large or very thick parts may require higher pressure to ensure proper material flow and mold filling, making them more prone to flash. The same is true for glass or fiber-filled materials. Similarly, molding parts with openings that use large through cores (such as the bezel of a tablet) or parts with long, narrow sections (like support arms) typically requires higher pressure. Such parts may also need additional vents to allow air (and a small amount of plastic) to escape during molding.
For more information, please contact Debaolong Seiko. You are also welcome to upload your design to Debaolong Seiko for a quote.