


Compression molding produces parts by placing pre-measured material into a mold, closing the tool, and applying heat and pressure. This pre-measured material is called a charge or load, and the mold is usually preheated to facilitate material flow and ensure it fills the tool during compression. After molding, the part is cooled, ejected, trimmed, or deflashed.
Typically, compression molding is used to produce larger or heavier parts, especially those with flat or simple contours. However, it can also be applied to smaller parts and can create features like threads, holes, and grooves. It supports various plastics, rubbers, and composites, but is generally used for low-to-medium volume production. This article explains key information about compression molding that part designers need to know—a service we proudly offer. Read on to learn more, and partner with Debaolong Seiko to produce complex parts at incredible speeds. Getting started is as easy as creating a Debaolong Seiko account and uploading your part drawings. Along with a quote, you’ll receive expert design for manufacturability (DFM) feedback.
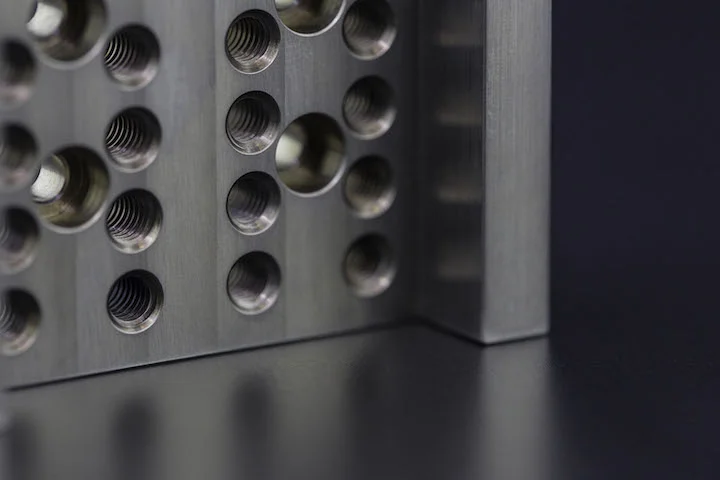
Compression Molds
A compression mold consists of a movable upper half (core) and a fixed lower half (cavity), typically made of aluminum or steel. The parting line is where the two halves meet. Some molds have a single cavity, but most use multiple cavities to offset the longer cycle times associated with compression molding. To facilitate part ejection, molds may use ejector pins and slides, though many parts are manually removed from the tool.
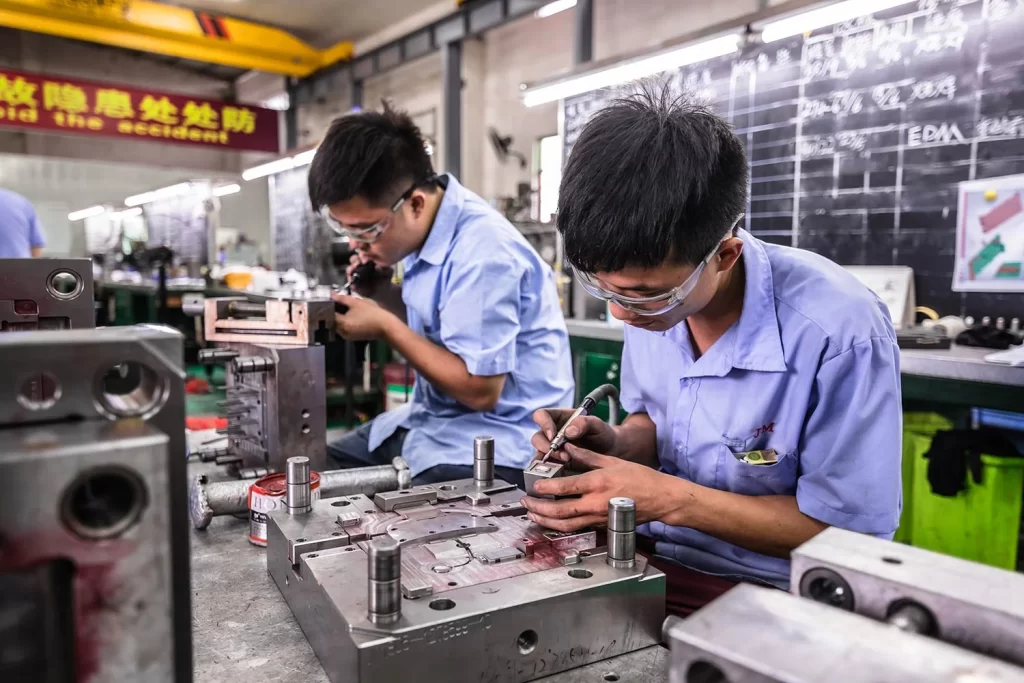
How Compression Molds Are Manufactured
Compression molds are usually machined from hardened steel blocks, using manual or automated processes like milling and drilling. They can also be die-cast, but still require CNC machining for precision. 3D-printed inserts may reduce mold costs, but they have shorter lifespans and cannot match the tolerances of metal molds—especially hardened steel ones.
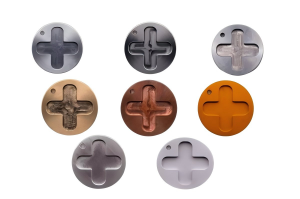
Types of Compression Molds
Compression molds fall into three main types:
- Flash
- Positive
- Semi-positive
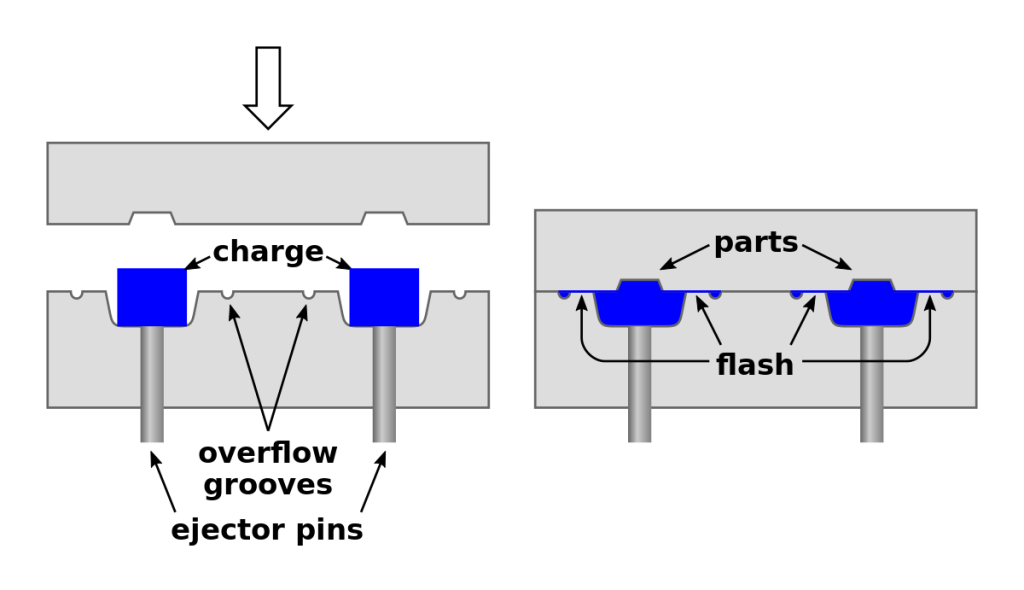
Flash Molds
Flash molds are the most common due to their simplicity and low production cost. Before molding, operators load an excess charge into the cavity. When the mold closes, the material fully fills the cavity, but excess material (flash) escapes through the parting line. To control waste costs, flash molds are often used with cheaper materials.
Positive Molds
Positive molds are more expensive than flash molds and require precisely measured charges. They are used when part density control is critical, when working with expensive materials, or for parts with deep draws (where the part’s depth exceeds its diameter).
Semi-positive Molds
Semi-positive molds are the most expensive but combine advantages of flash and positive molds. They do not require extremely precise charge measurements, but excess material will still escape through the parting line during compression.
Compression Molding Materials
Compression molding materials are categorized into three main types:
- Plastics
- Rubbers
- Composites
Plastic Materials for Compression Molding
Plastics used in compression molding are divided into thermosets and thermoplastics.
Thermosetting Plastics
Thermosets have low shrinkage and high durability, with superior mechanical properties. However, they can only be liquefied once and cannot be reshaped. Examples include:
- Phenolics
- Epoxies
- Diallyl phthalate (DAP)
Thermoplastic Plastics
Thermoplastics can be repeatedly melted and reshaped but are generally less rigid and strong than thermosets. Examples include:
- Polypropylene
- Nylon
- High-density polyethylene
- Polyester
- PEEK (Polyether ether ketone)
Rubber Materials for Compression Molding
Compression-molded rubber is elastic and resilient, with properties like oil resistance, temperature resistance, or chemical resistance depending on the compound. Examples include:
- Nitrile
- Butyl rubber
- EPDM (Ethylene propylene diene monomer)
- Silicone
- Viton®
- Fluorosilicone
Composite Materials for Compression Molding
Thermosets and thermoplastics can be reinforced with fibers to enhance strength. For example:
- Bulk Molding Compound (BMC), a thermoset composite, is supplied as a dough-like mixture of polymer resin, chopped fibers, and hardeners.
- Nylon, a thermoplastic, can be glass-fiber-filled and compression-molded into strong, lightweight parts.
- Rubber-based composites (e.g., silicones or fluorosilicones with metal particles) offer conductivity and EMI shielding. These composites flow too slowly for injection molding but work well with compression molding.
The Compression Molding Workflow
While relatively simple, compression molding involves several key steps:
- Preparing the charge
- Loading the mold
- Applying heat and pressure
- Cooling or curing the part
- Ejecting the part from the mold
- Trimming or deflashing the part
- Cleaning the mold
Preparing the Charge
Charge preparation involves precise measurement. The mold type influences charge size, but molders aim to minimize post-processing: too much charge causes flash, while too little leaves the mold underfilled.
Loading the Mold
The charge is placed into the cavity (lower half of the tool). For flat rectangular parts, the cavity has a roughly matching flat rectangular opening. For hollow parts, the core combines with the cavity to form the internal shape.
Applying Heat and Pressure
Rubber molds are often preheated to soften the charge and reduce viscosity. For plastics, heat may be applied after the mold closes. In all cases, the core closes over the cavity, and heat/pressure are applied to make the charge flow and fill the mold.
Cooling or Curing the Part
- For thermoplastics: Lowering mold temperature hardens the molten charge into the final part.
- For rubbers and thermosets: Catalysts promote curing. Rubber uses two main systems: condensation curing (tin catalysts) and addition curing (platinum catalysts).
Ejecting the Part
After cooling or curing, the mold opens, and the part is ejected. Ejection is manual for simple parts or small batches, and automatic (using plunger-style ejector pins) for complex parts or large volumes.
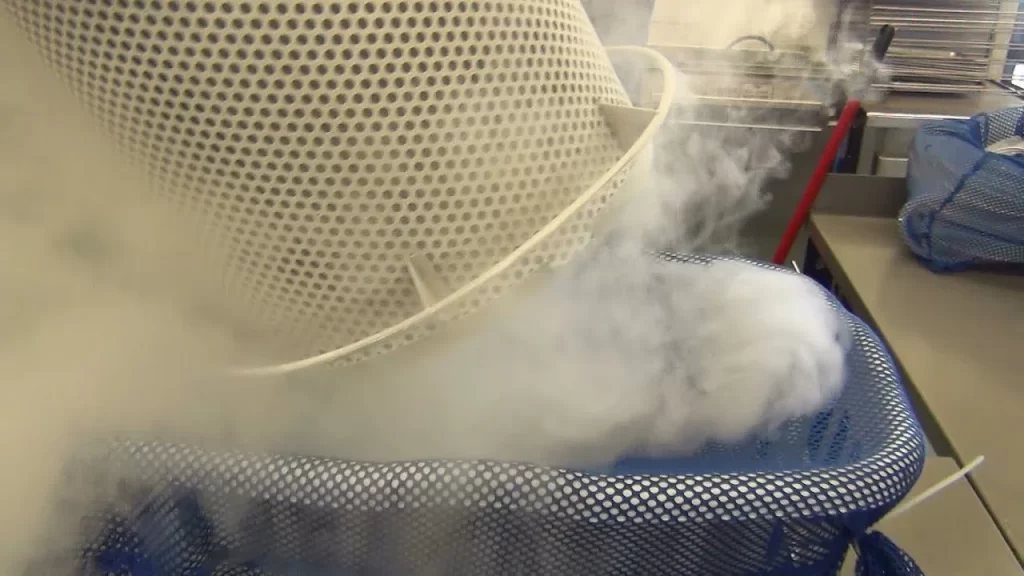
Trimming or Deflashing
Some flash is expected but must be removed to avoid affecting appearance, assembly, or performance:
- Manual trimming (e.g., with knives) is used for simple/large parts or small volumes.
- Cryogenic deflashing, a semi-automatic machine process, suits smaller batches, including parts with complex features.
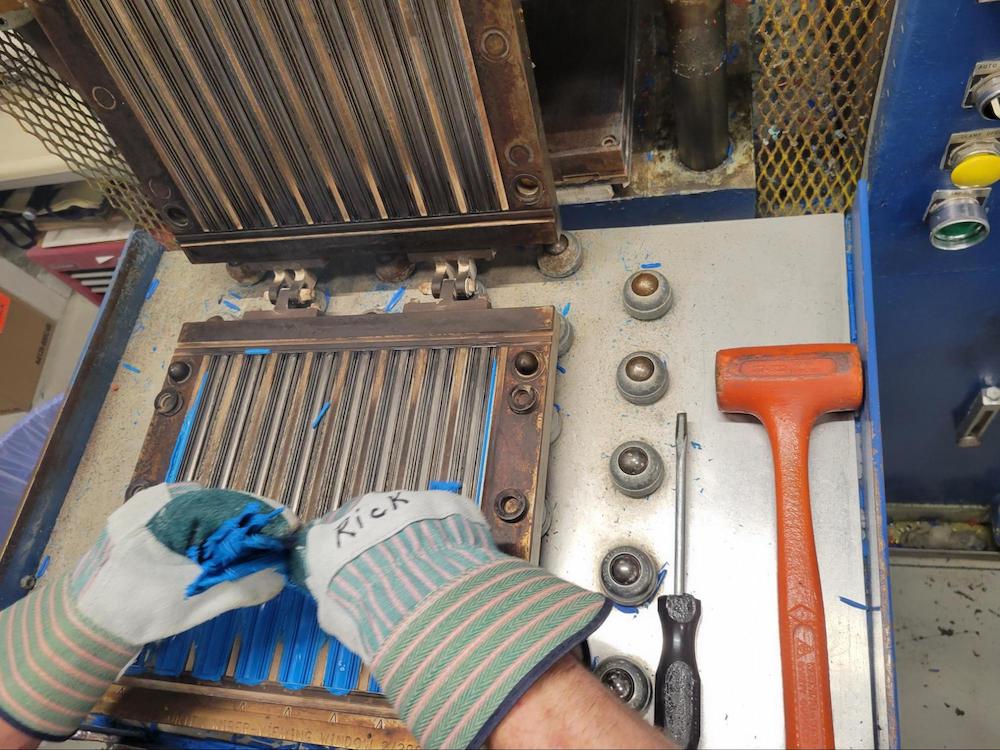
Cleaning the Mold
Residual material is removed from the core and cavity after molding. Regular cleaning uses hand tools, while periodic deep cleaning may involve dry ice blasting, chemical baths, laser cleaning, or ultrasonic soaking. A release agent is applied to prevent future sticking.
Compression Molding with Insert and Overmolding
Compression molding supports insert and overmolding, eliminating post-molding assembly.
Insert Molding
Insert molding compresses the charge around a prefabricated component (insert), encapsulating part or all of it. For example, a metal blade (insert) can be placed in a mold with plastic; heat and pressure form a plastic handle around the blade. It is also used for electrical contacts like plugs.
Overmolding
Overmolding compresses a new charge onto a previously molded part, combining the benefits of two materials. For example, a hard material forms a durable handle, and a softer material is overmolded to improve ergonomics and aesthetics.
Advantages and Disadvantages of Compression Molding
Advantages
- Lower mold costs compared to other processes.
- Compatible with heavy, low-flow materials (no need for complex injection channels).
- Parts have no flow lines or residual stresses (reducing defects).
- Good dimensional accuracy, smooth surface finishes, and detailed features.
- Strong, lightweight parts can replace metal in structural applications.
- Versatile: supports inserts, overmolding, and diverse materials.
Disadvantages
- Not ideal for complex parts with sharp edges, steep angles, or intricate details.
- Simple geometries are preferred to avoid costly ejection mechanisms.
- Longer cycle times due to steps like charge preparation and trimming, increasing costs.
Industries and Applications of Compression Molding
Compression molding is used across various sectors:
Aerospace
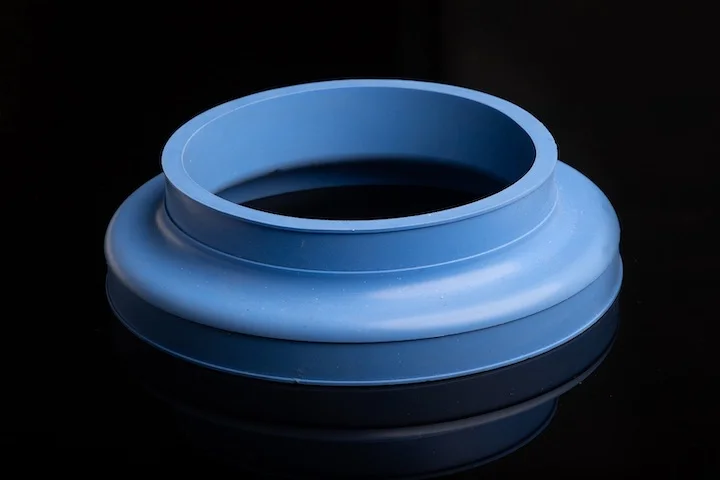
Aircraft manufacturers replace heavy aluminum parts with compression-molded C-channels, H-sections, U-sections, L-stringers, and T-sections. It also produces O-rings.
Automotive
Used for fenders, large panels, interior plastic components (to protect engine parts), and LED lighting housings.
Medical
Produces plastic syringe stoppers, silicone respirator masks, and custom dentures (cost-effective for small batches).
Consumer Goods
Manufactures kitchenware (utensils), boots, diving equipment, appliance housings, and electrical components (sockets, switches, panels).
Designing Compression-Molded Parts
DFM (Design for Manufacturability) ensures parts are easy to produce, reducing costs and speeding up production. Avoid these four pitfalls:
- Excessively thick walls: Thinner walls use less material and cool faster, lowering costs.
- Unnecessary undercuts: Undercuts require costly ejection mechanisms (e.g., slides).
- Sharp corners and sudden wall thickness changes: These hinder material flow and uniform cooling.
- Prominent parting lines: Especially with flash molds—consider aesthetics, dimensions, and flash impact.
For more information, contact Debaolong Seiko. Upload your design to get a quote today.